Item Name : Palaiche - Multipurpose
Business Agency Html Tailwind CSS Template
Created: 19 May 2026
Last Updated: 19 May 2026
Item Version : v 1.0.0
Author :
MKTemplateWizard
Introduction
Palaiche - Multipurpose Business Agency Html Tailwind
CSS Template Documentation.
After purchasing, if you have any further questions about this template, feel free to contact us through the support system available on the marketplace where you purchased the template.
Getting started
Palaiche - Multipurpose Business Agency Html Tailwind
CSS Template.
Requirements
There are system requirements in order to install and
setup Palaiche template and its components properly.
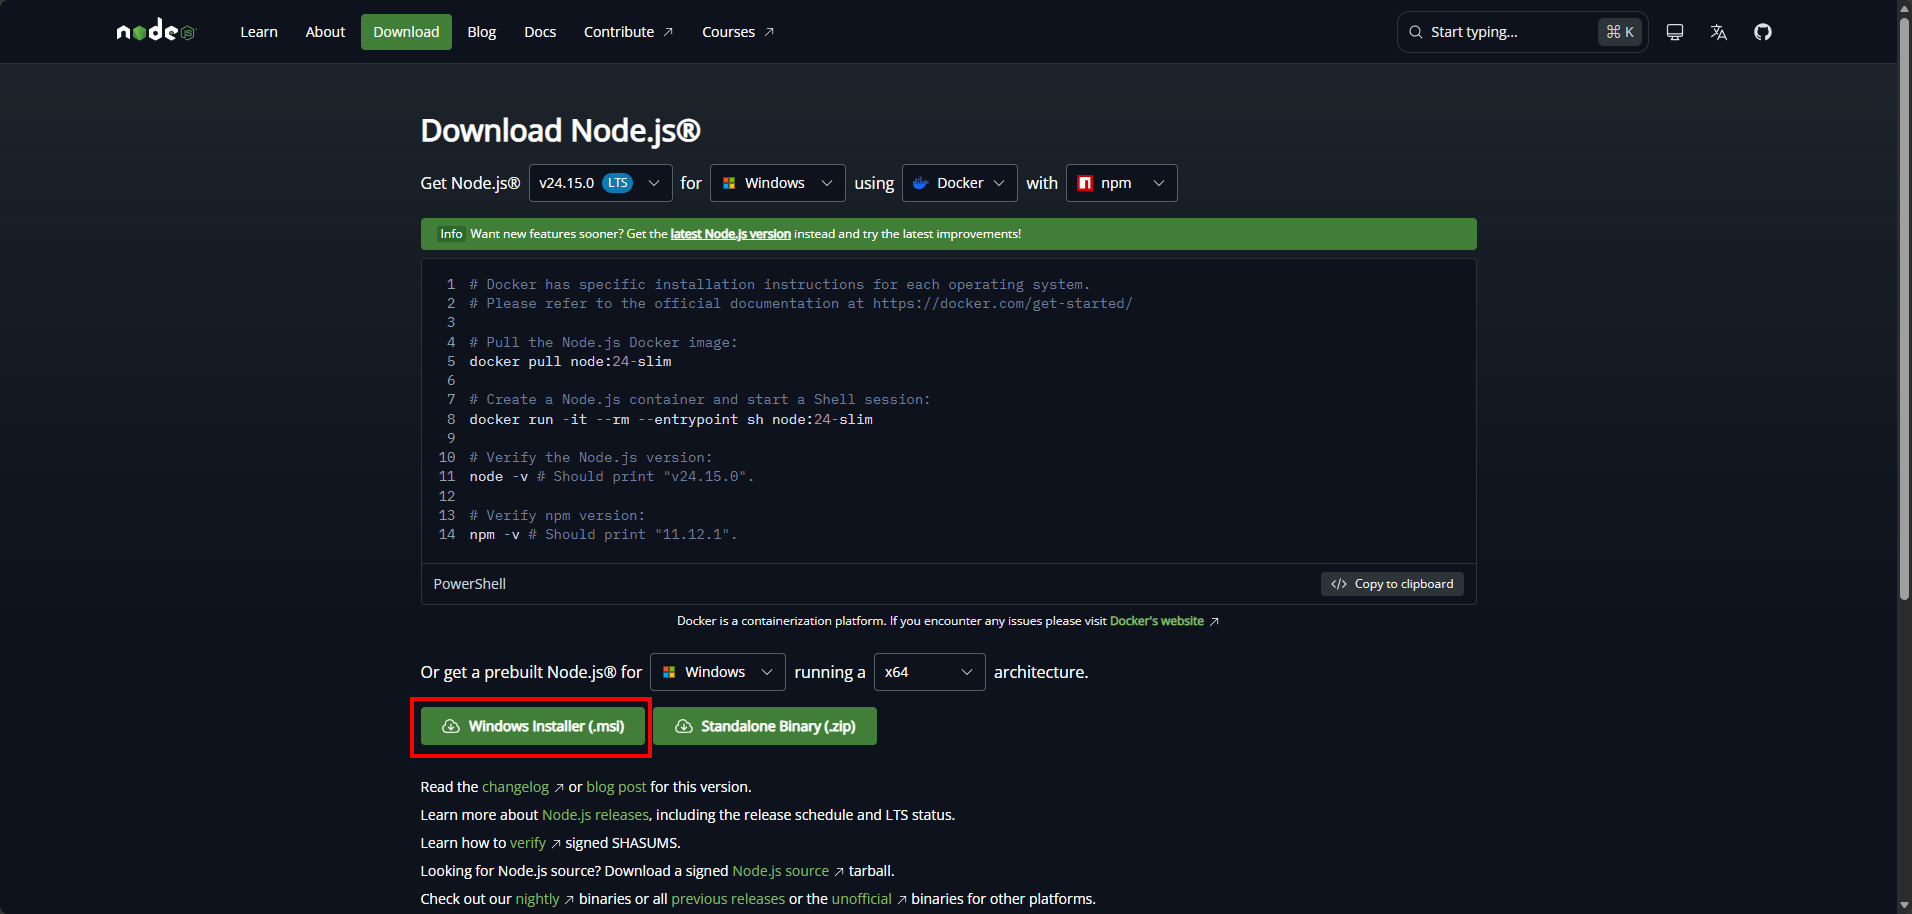
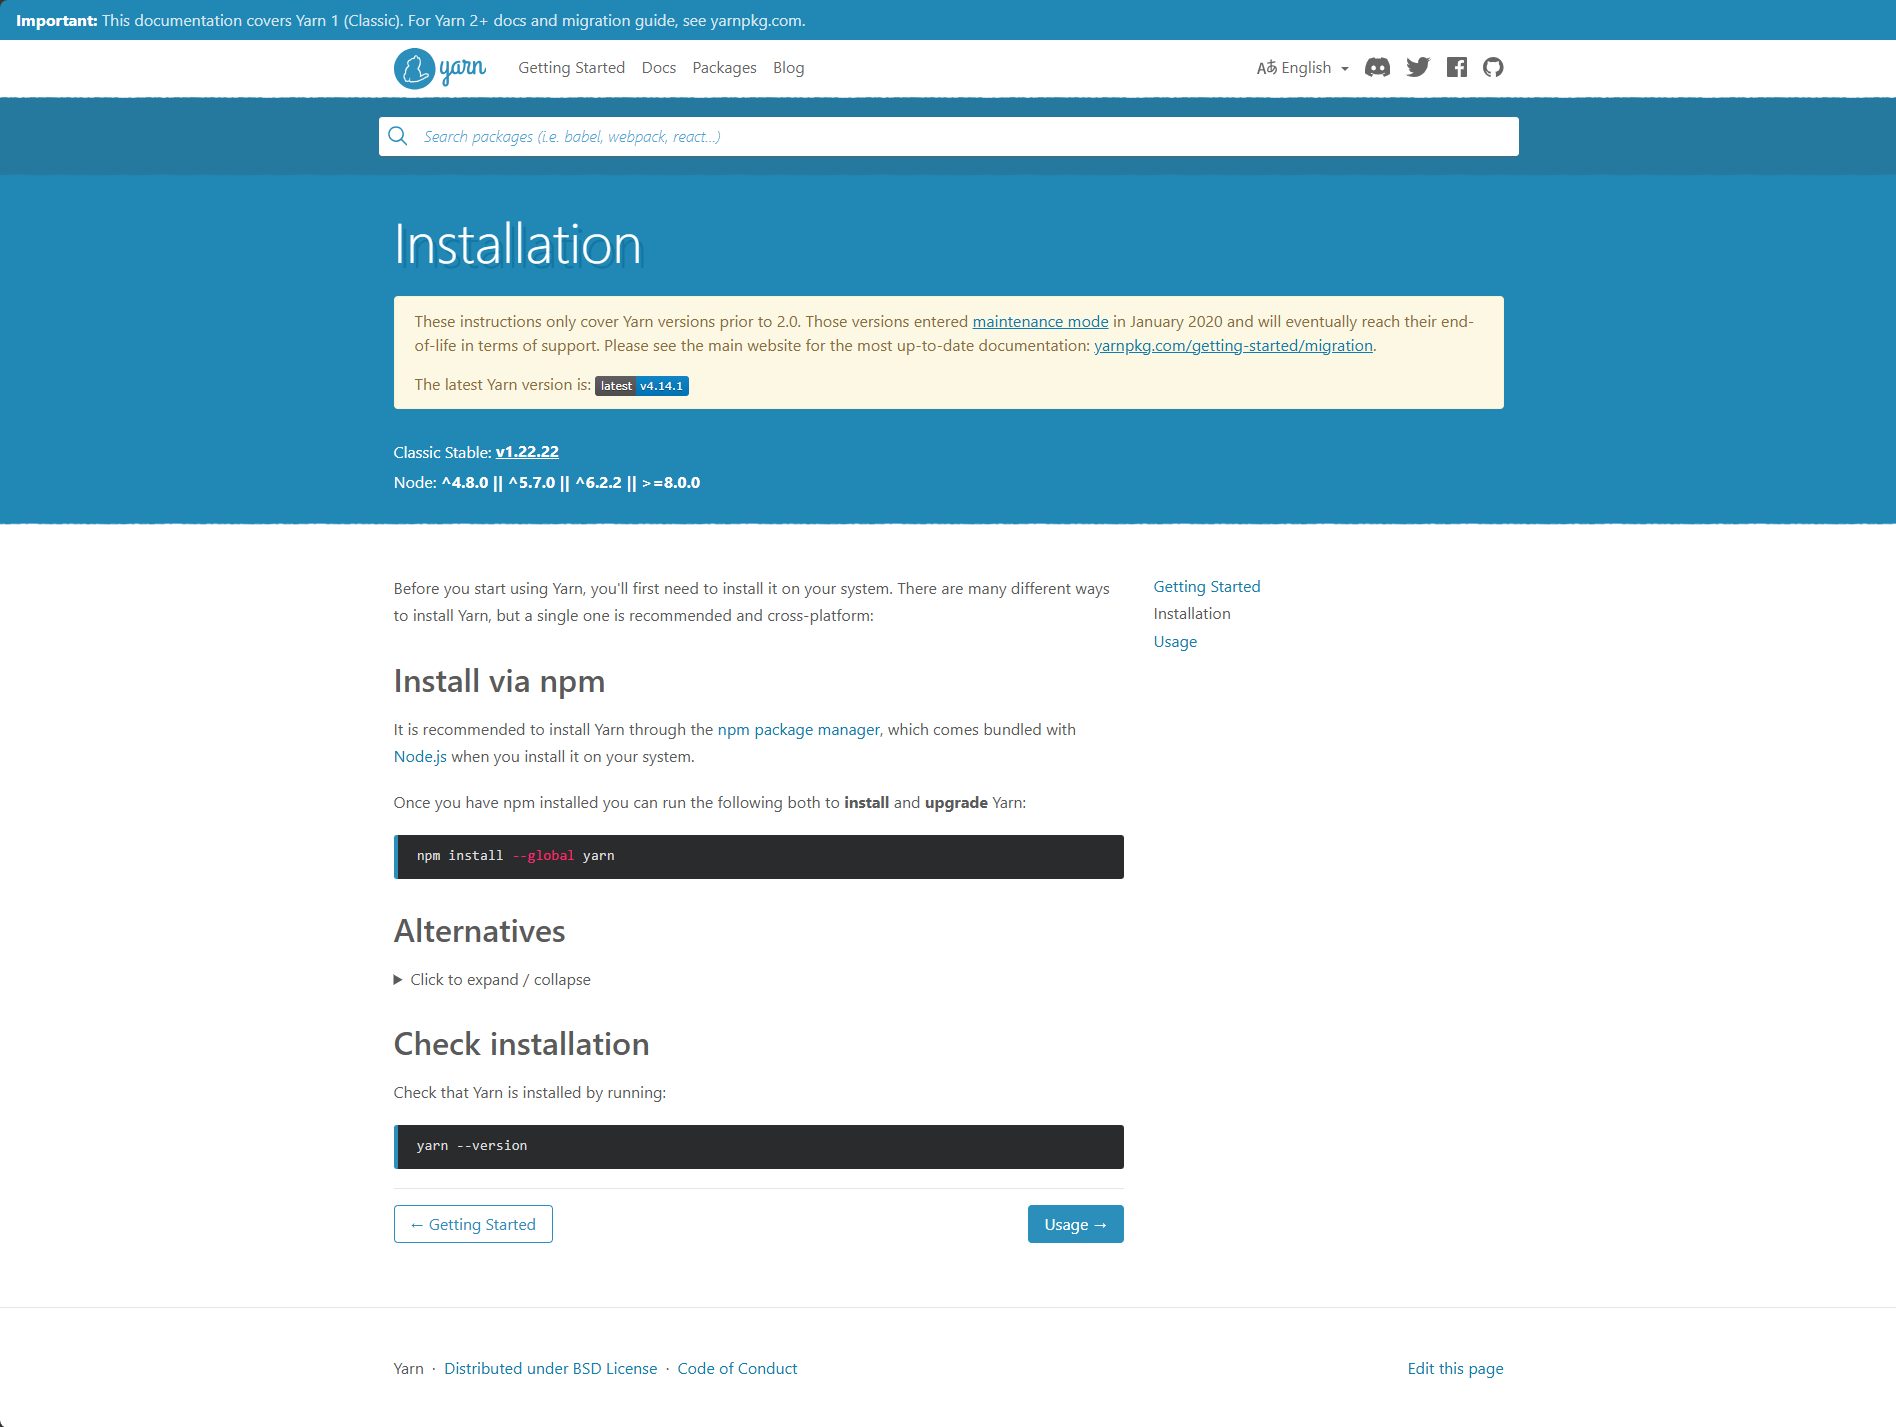
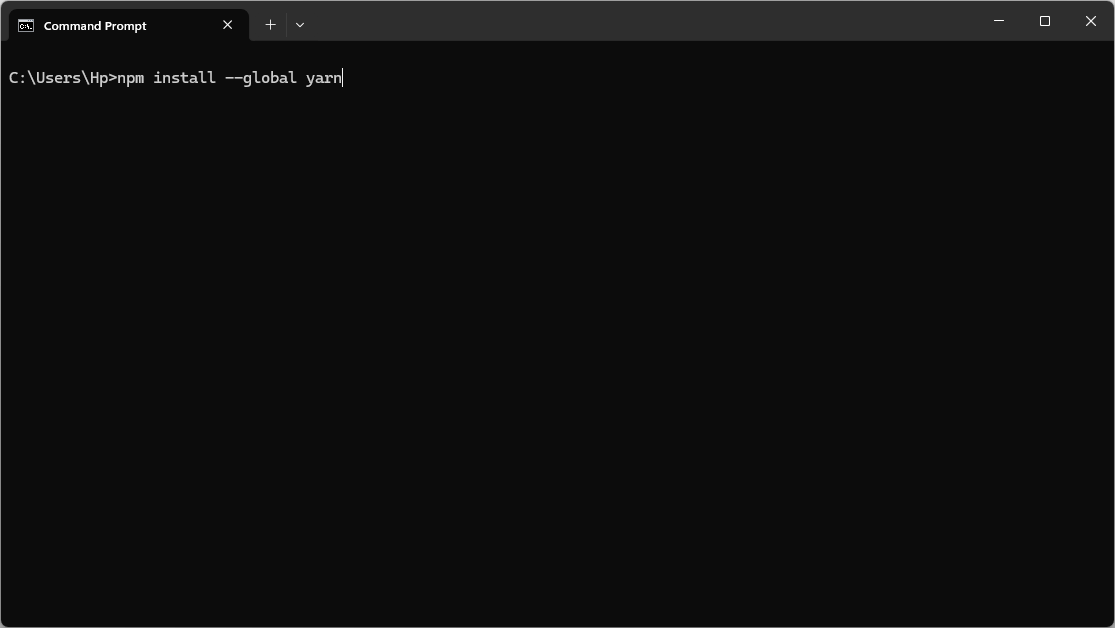
Make sure that you are installed
node.js and Yarn.
After purchasing the Palaiche template from the marketplace using your account, go to your download page. There you can download the Palaiche template package, which includes the following files:
The contents of the template package downloaded from the marketplace:
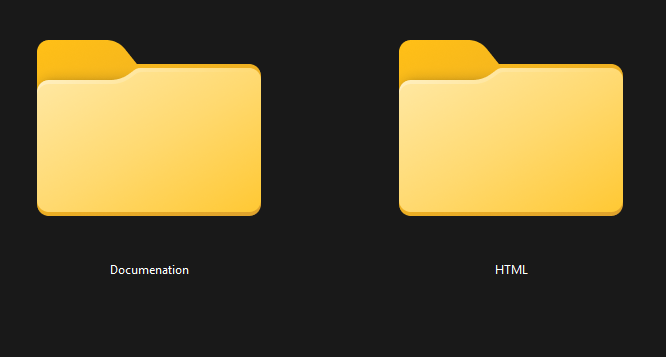
Palaiche - An HTML, CSS, and JS
Template file. this file you can edit and use for
your business.
Documentation - This folder
contains what you are reading now :)
Project Folder Structure
The template is developed inside src and compiled to dist using Gulp.
Always edit files in src. Files in dist are generated and will be overwritten on every build.
Includes: Pages in src use @@include() to insert partials, for example:
@@include('partials/header/v1/header.html').
Installation & Setup
Please follow the instructions below to install
dependencies and run the
Palaiche template on your local
machine.
Prerequisites
Ensure you have Node.js installed.
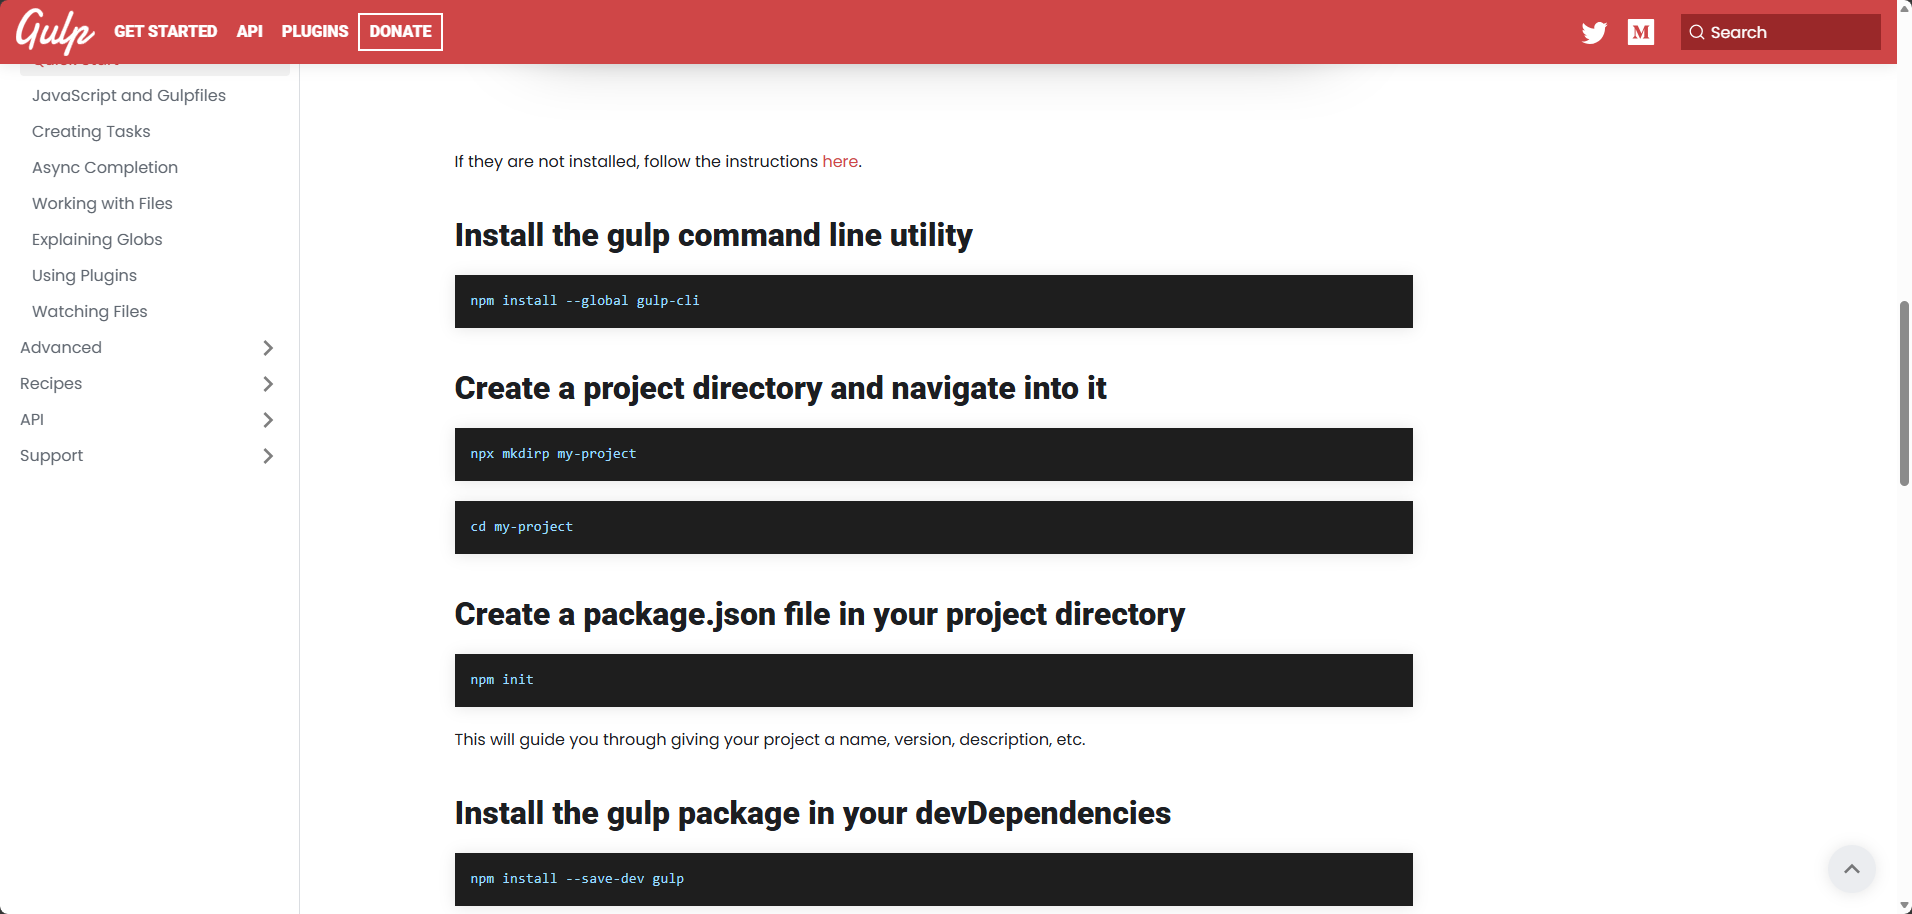
Gulp is executed via npx (no global install required).
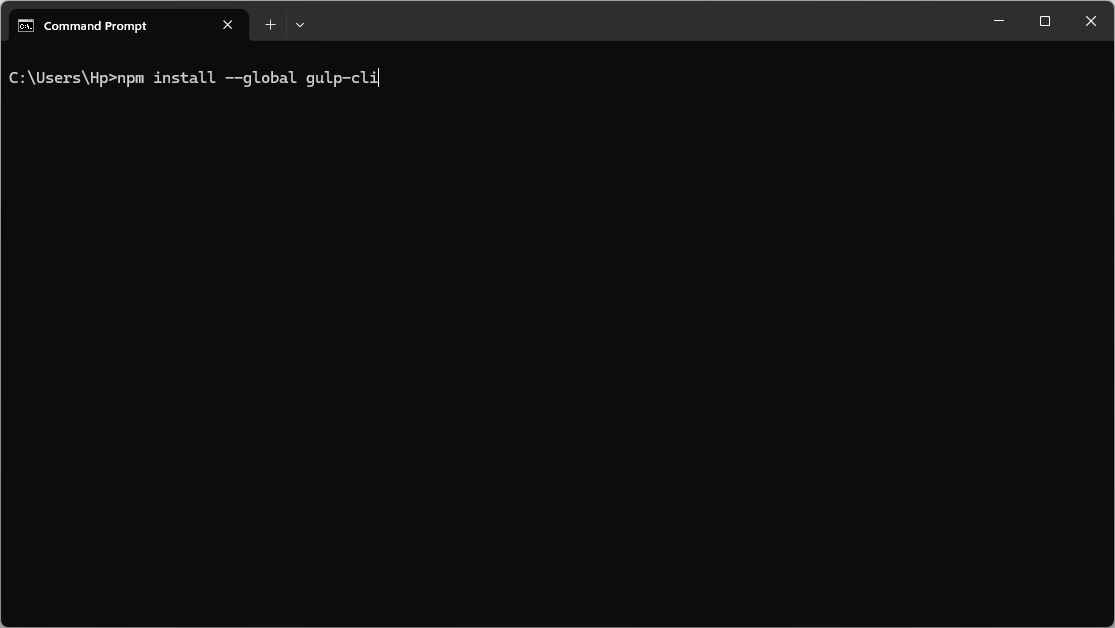
npm install --global gulp-cli
Install Dependencies
Open your terminal/command prompt in the root
directory of the template.
Run the following command to install all
required packages:
npm install
Note: If you face peer dependency issues,
use
npm install --legacy-peer-deps
Development Mode (Local Host)
Run the development server:
npm run dev
This will compile assets, start BrowserSync, and
open the site at:
http://localhost:3000 (or
similar port).
Any changes to HTML, SCSS, or JS files will
automatically reload the browser.
Production Build
To generate the final optimized files for
deployment, run:
npm run build
This will create a dist folder
containing minified CSS, JS, and compiled HTML
ready for upload to your hosting server.
Available Scripts
Command
Description
npm run dev
Starts Gulp watch mode & BrowserSync server
npm run build
Compiles and minifies assets for production
Basic Site Settings
Change Site Title, Favicon and Page Title
To change your Site title and Favicon open the Palaiche
in your editor and go to the location by following
screenshot which are given bellow.
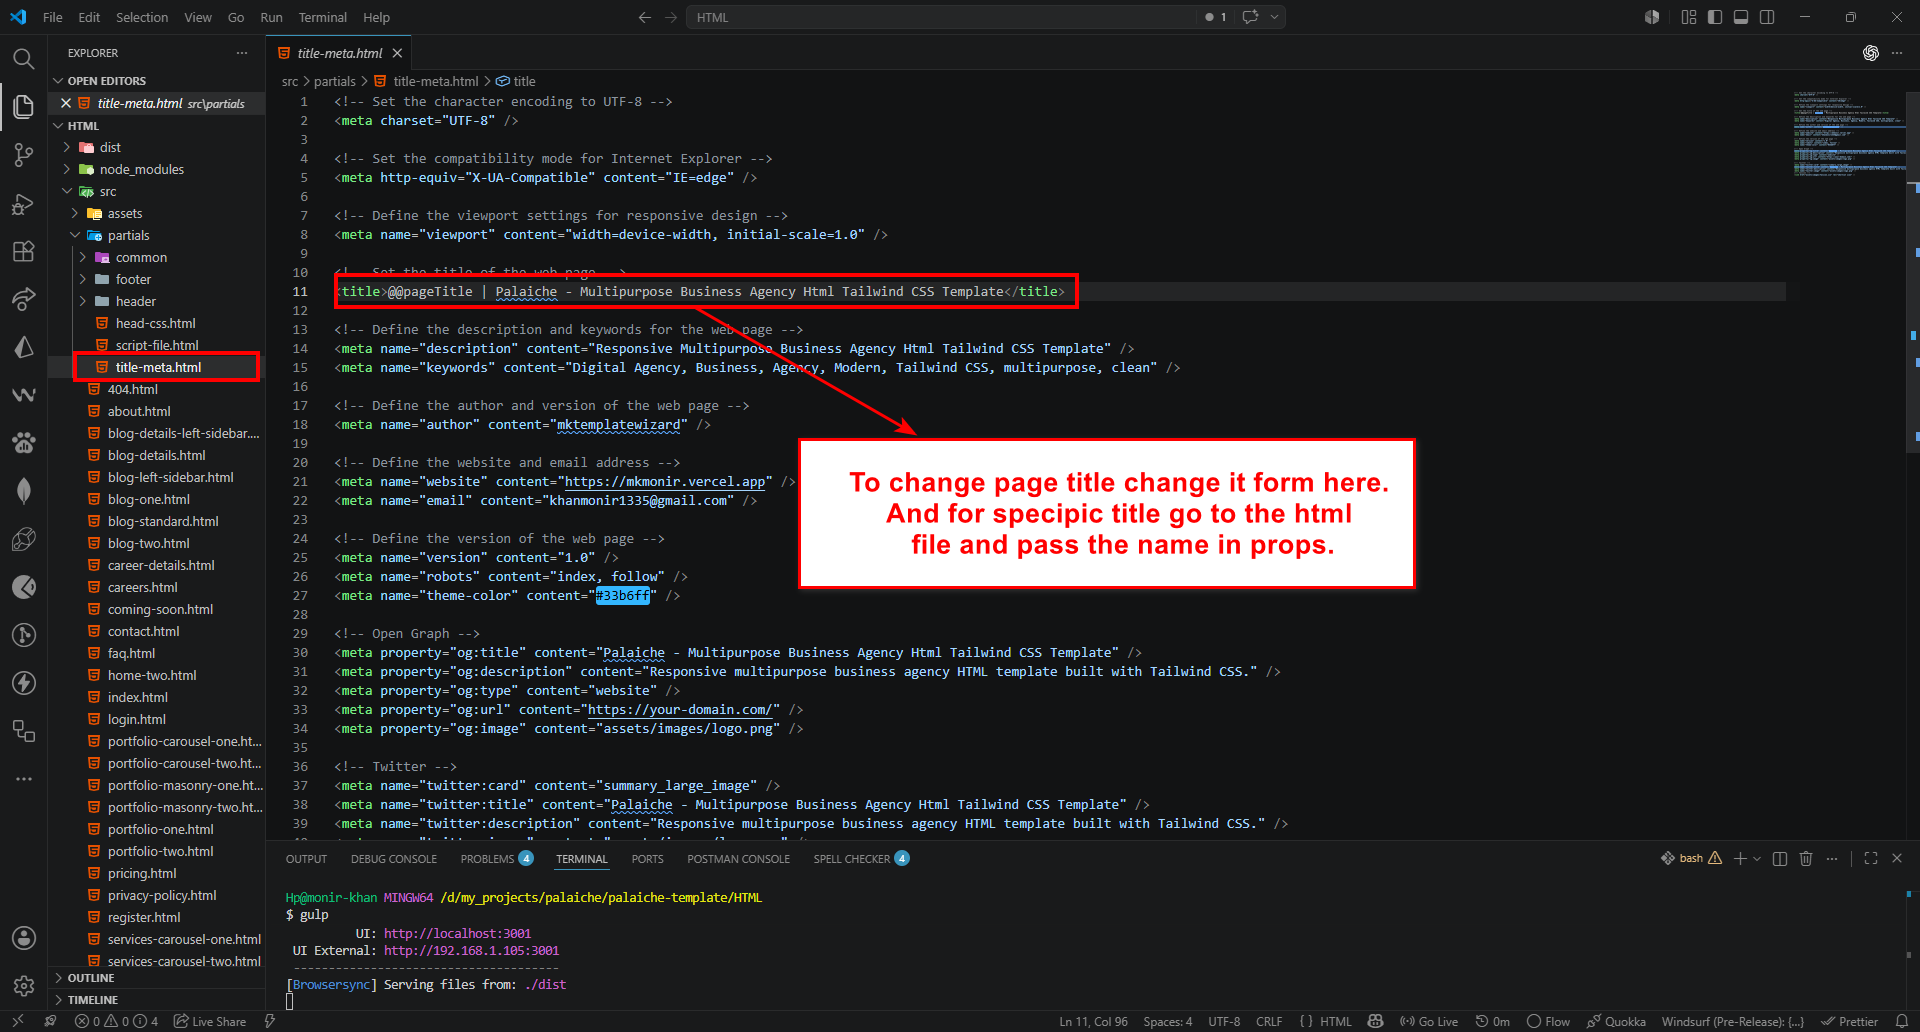
From the project folder go to
srcpartialstitle-meta.html
Then customize the page title
You can change title here
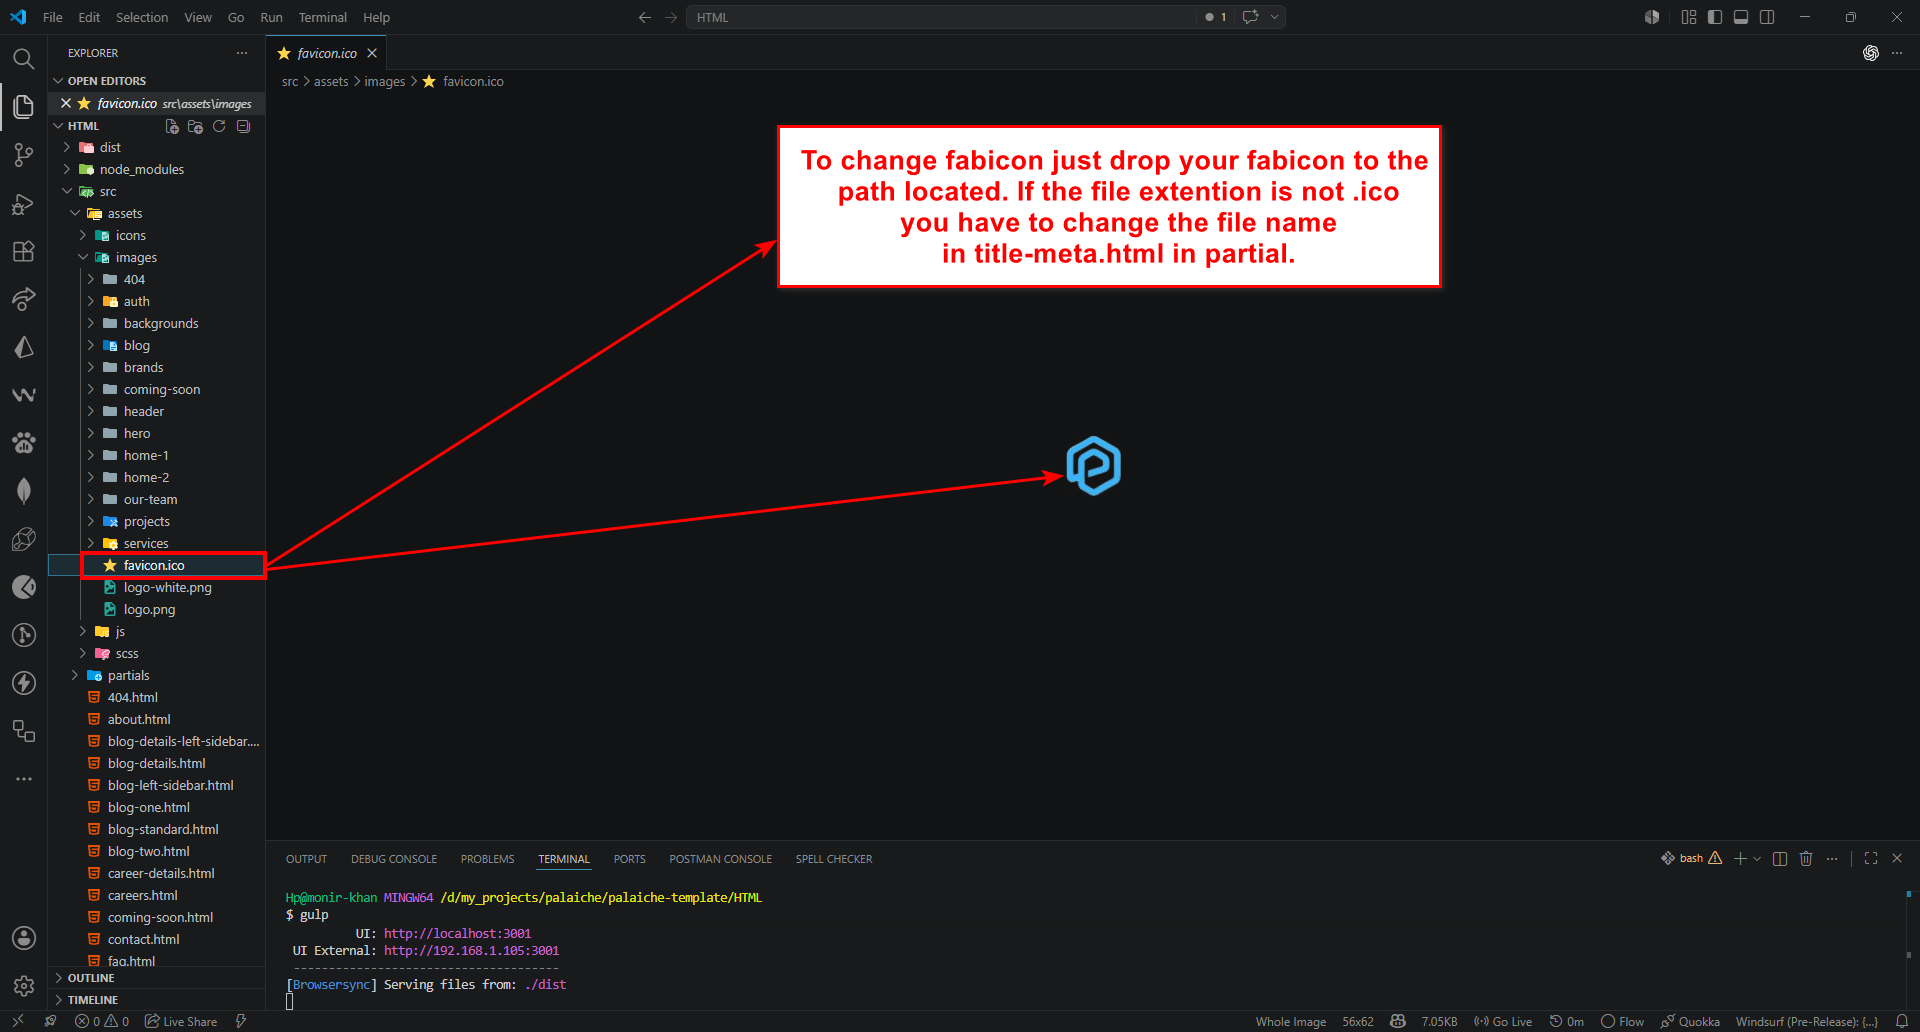
From the project folder go to
srcassetsimagesfavicon.ico
Then drop your favicon and replace it with current one
You can change favicon here
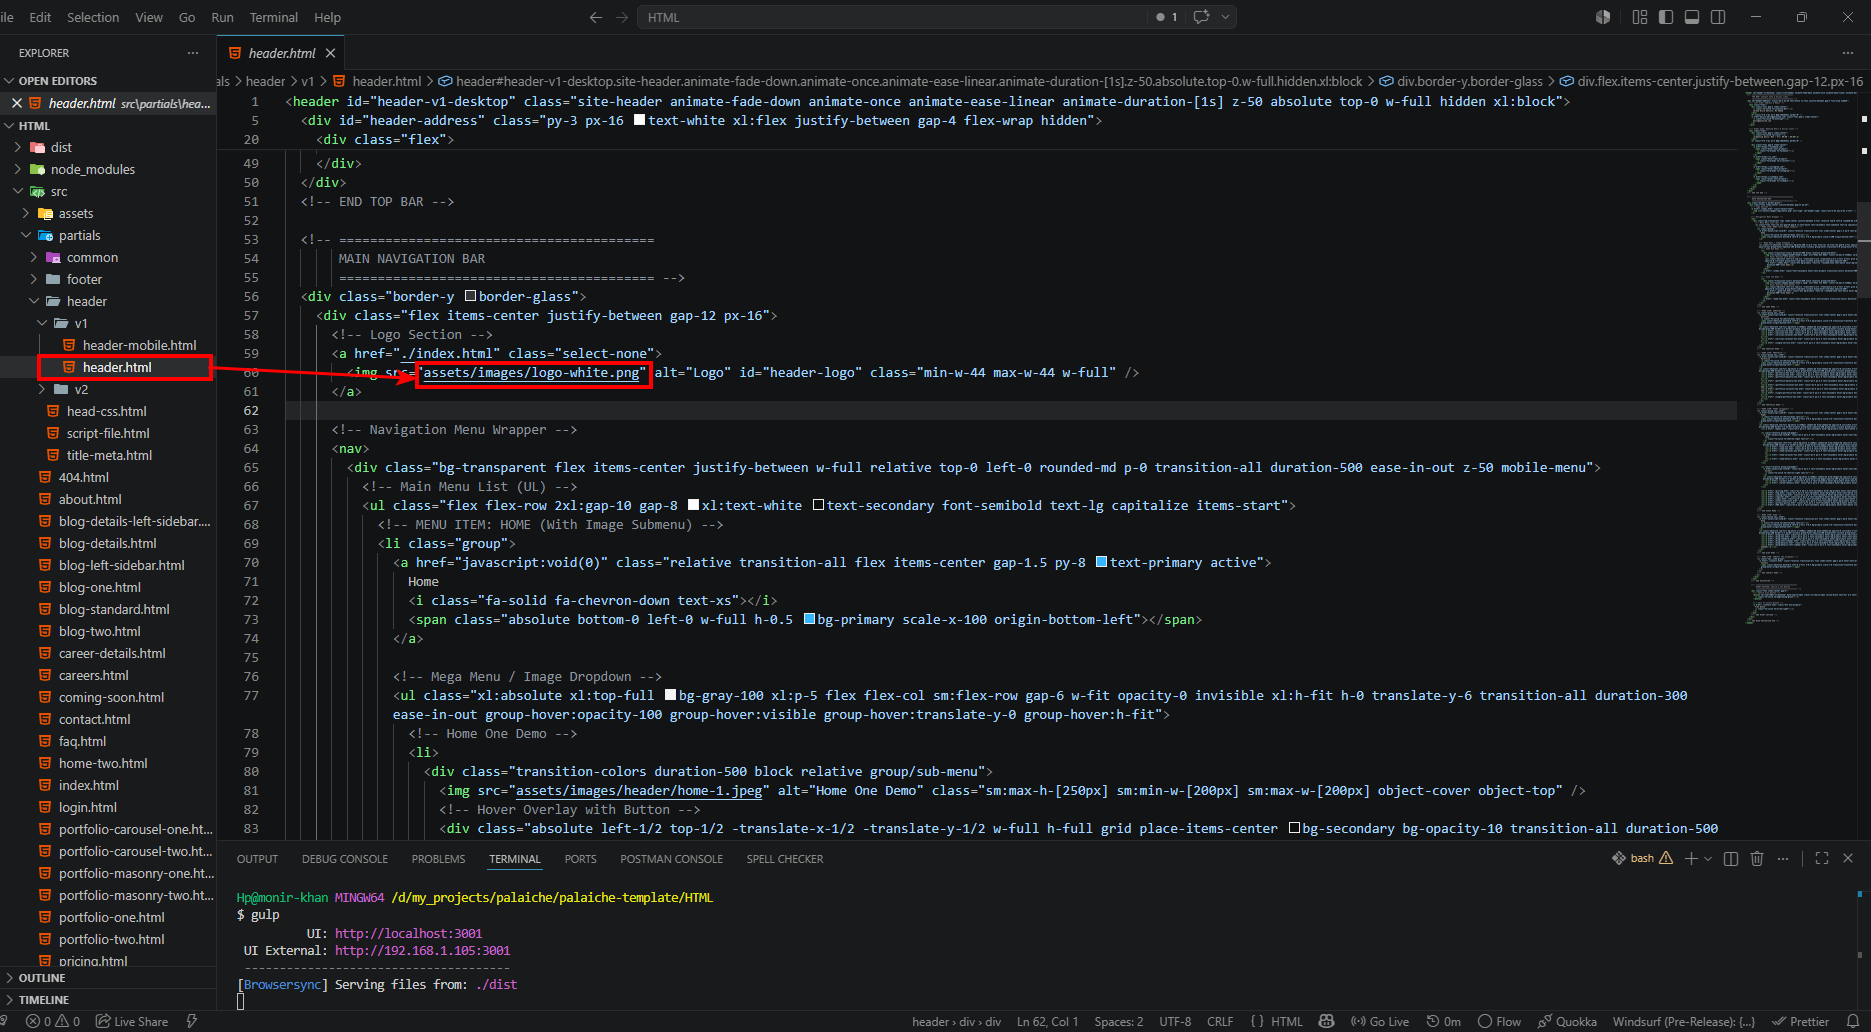
Change Logo
To change logo and customize other header data do the
following:
You can change logo from header, footer and loader at the same
way. Just do the following:
For header v1 Desktop: From the project folder go to
srcpartialsheaderv1header.html
For header v1 Mobile: From the project folder go to
srcpartialsheaderv1header-mobile.html
For header v2 Desktop: From the project folder go to
srcpartialsheaderv2header.html
For header v2 Mobile: From the project folder go to
srcpartialsheaderv2header-mobile.html
For footer v1: From the project folder go to
srcpartialsfooterv1footer.html
For footer v2: From the project folder go to
srcpartialsfooterv2footer.html
For preloader: From the project folder go to
srcpartialscommonpreloader.html
Then customize the logo from here
You can change logo here
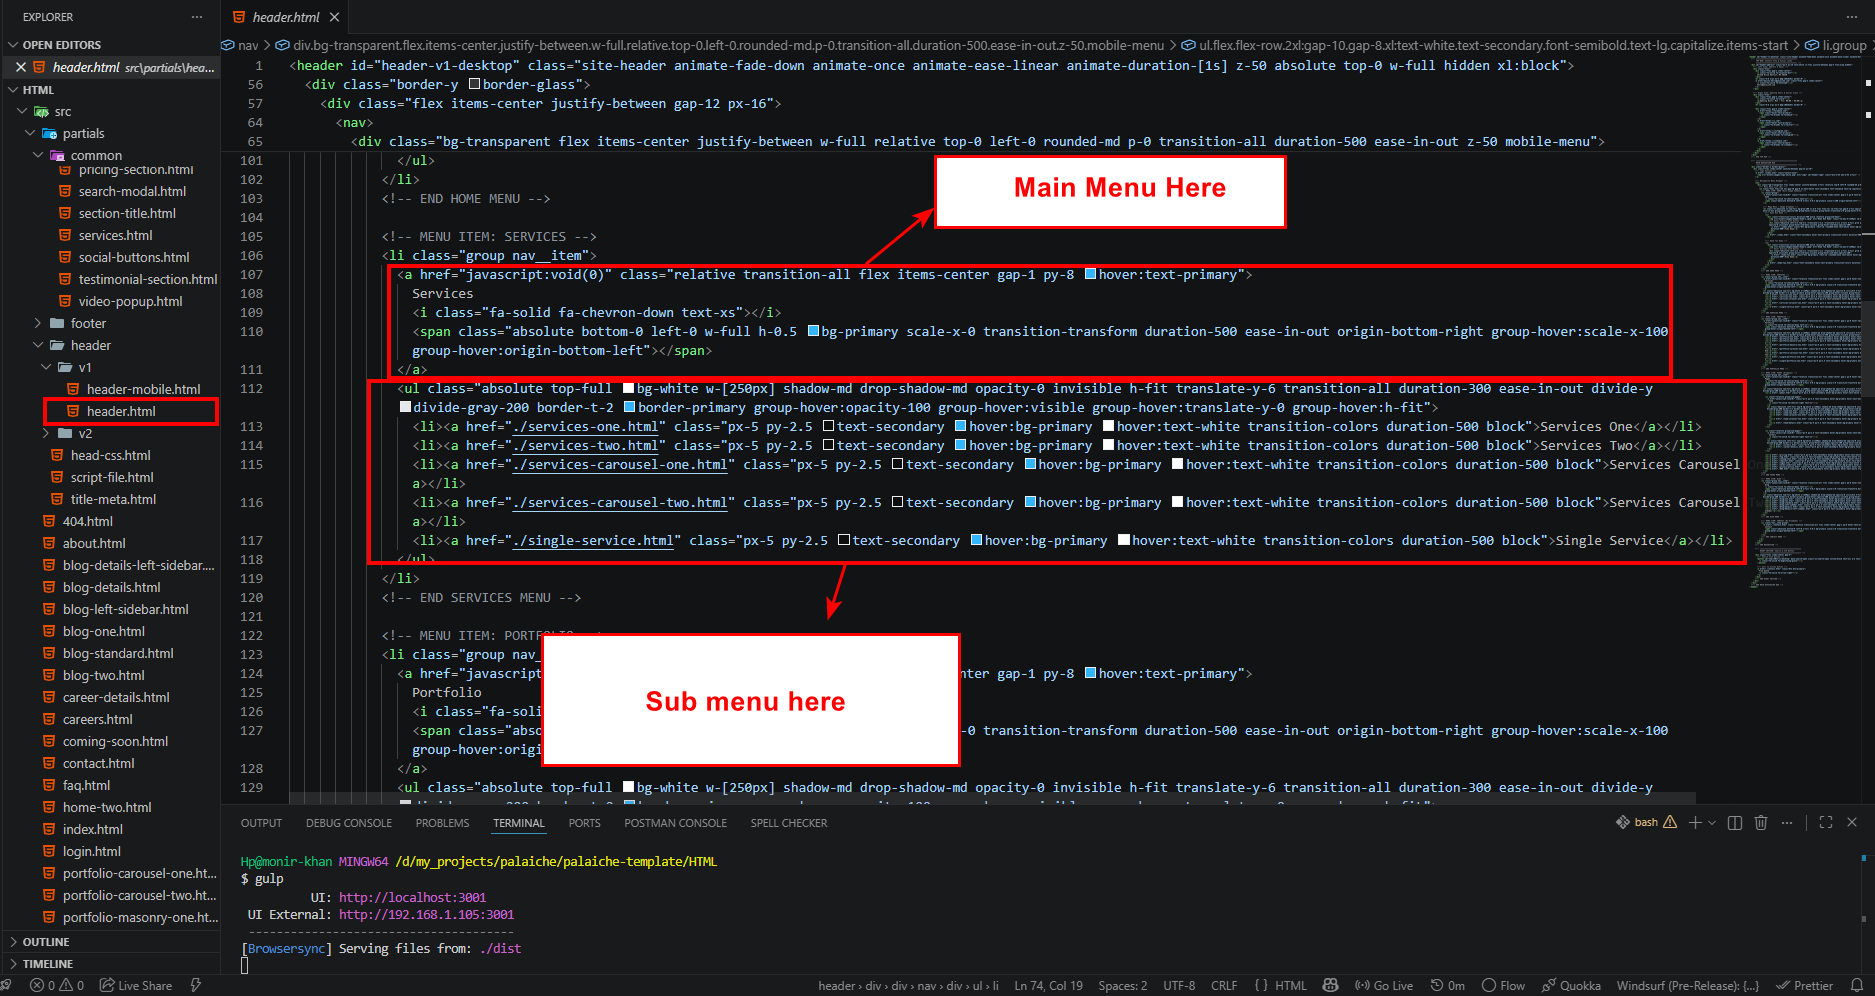
Customize Menu
To customize menu do the following:
For header v1 Desktop: From the project folder go to
srcpartialsheaderv1header.html
For header v1 Mobile: From the project folder go to
srcpartialsheaderv1header-mobile.html
For header v2 Desktop: From the project folder go to
srcpartialsheaderv2header.html
For header v2 Mobile: From the project folder go to
srcpartialsheaderv2header-mobile.html
Then customize the menu
Customize the menu
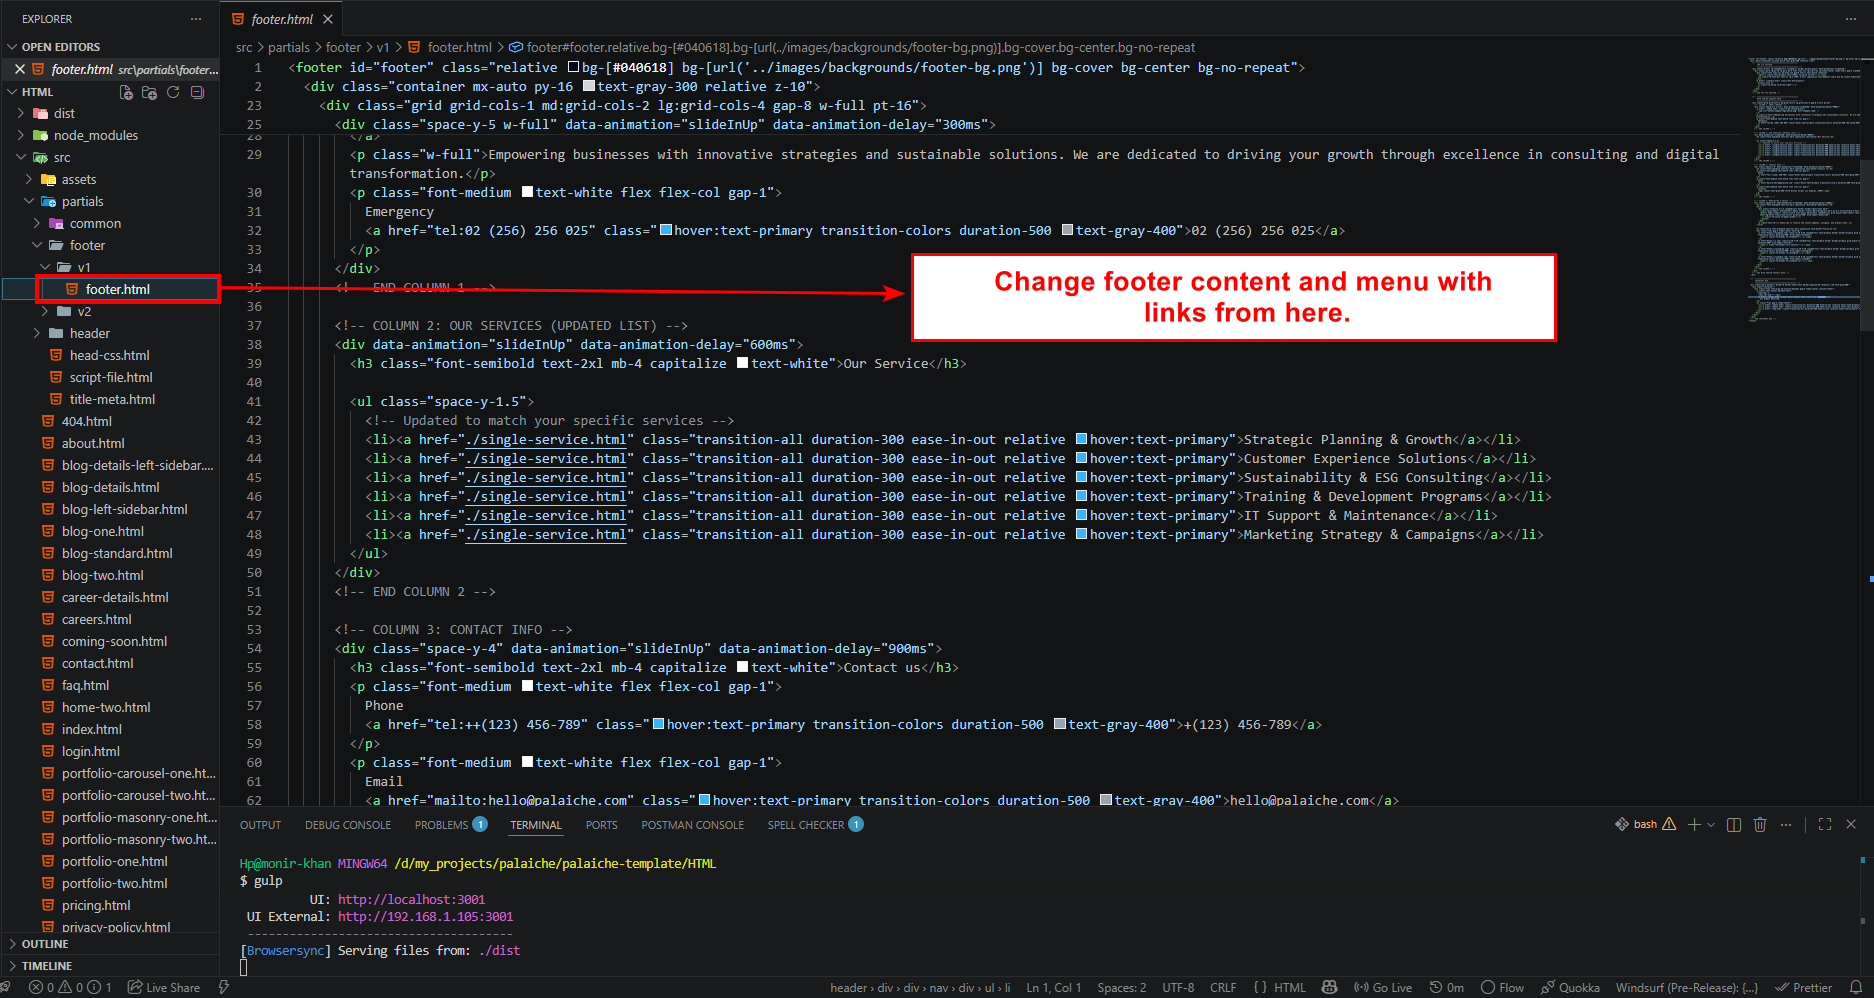
Customize Footer
To customize footer data do the following:
For footer v1: From the project folder go to
srcpartialsfooterv1footer.html
For footer v2: From the project folder go to
srcpartialsfooterv2footer.html
Then customize the footer data
Customize the footer
Comprehensive Customization Guide
Palaiche is built with flexibility in mind. This section details the specific areas you can customize to match your brand identity.
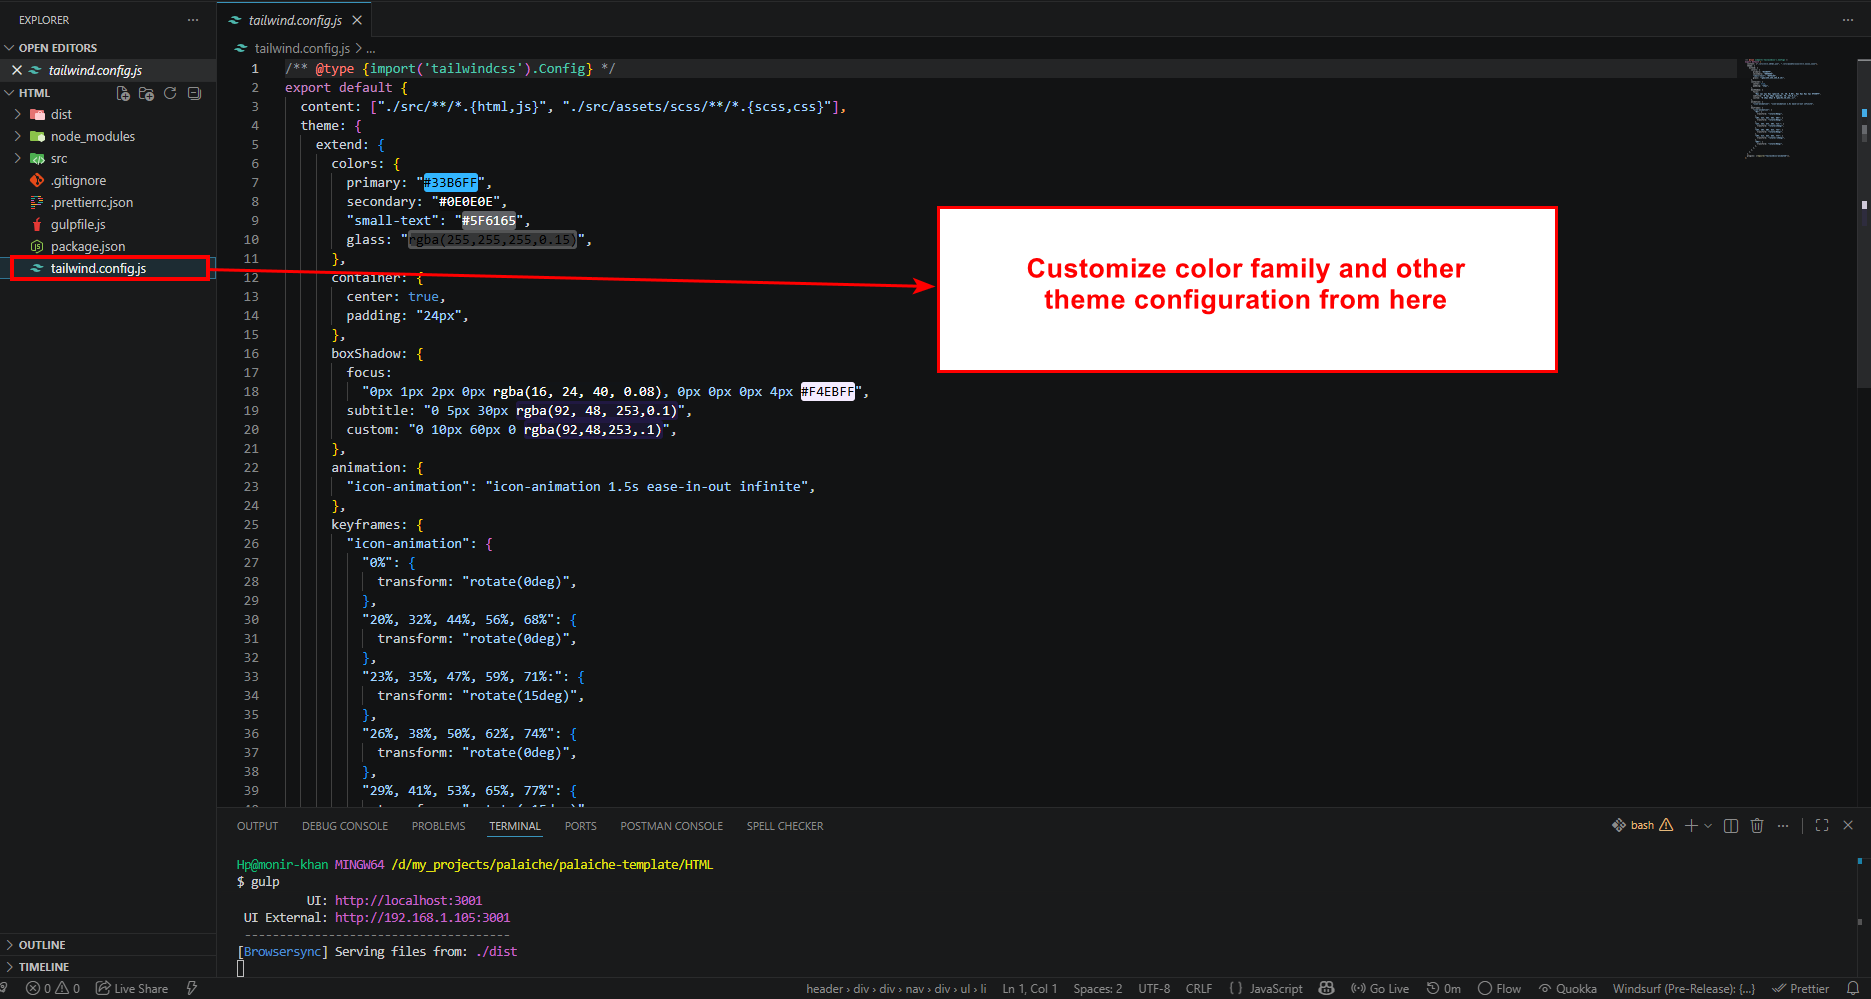
1. Colors & Theme Customization
The template uses Tailwind CSS for styling. You can easily change the primary and secondary color schemes by editing the tailwind.config.js file.
Open tailwind.config.js in the root directory.
Locate the theme.extend.colors section.
Update the hex codes for primary, secondary, or other custom colors.
Save the file. The development server will automatically recompile the CSS with new colors.
Edit colors in tailwind.config.js
2. Typography & Fonts
We use Google Fonts (Kumbh Sans by default). To change the font family:
Go to src/assets/scss/custom.scss (or the main SCSS entry point).
Import your desired Google Font at the top of the file.
Update the $font-family-base variable or the Tailwind config font family settings.
Change fonts in SCSS or Tailwind Config
3. Content & Data
This HTML version does not use a JSON data layer by default.
Most content (text, links, cards, lists) is written directly in the page HTML files in src and shared
sections are in src/partials.
Edit page content in src/*.html (example: src/blog-one.html, src/services-one.html).
Edit reusable sections in src/partials/common (example: services.html, portfolio.html).
Replace images in src/assets/images. (If you have multiple image versions, keep one real image and one example image.)
4. Layout, Partials & Versions
The template is modular using gulp-file-include partials (@@include()), not a framework.
You can switch between different layouts (example: header v1 vs v2) by changing which partial you include on a page.
Header versions:src/partials/header/v1 and src/partials/header/v2
(each has desktop + mobile).
Footer versions:src/partials/footer/v1 and src/partials/footer/v2.
Tip: When you are not sure where a text/image is coming from, search in src for the text,
or check the page file first (example: src/index.html / src/home-two.html).
Customize Blog
Blog pages are regular HTML files. Choose the layout you want, then edit the post cards/content inside that file.
Blog listing layouts:
src/blog-one.html, src/blog-two.html, src/blog-standard.html,
src/blog-left-sidebar.html.
Blog details layouts:
src/blog-details.html, src/blog-details-left-sidebar.html.
Blog images:
src/assets/images/blog (replace images; keep one real + one example image if you want multiple versions).
Customize Services
Services content is written in the service pages and shared sections.
The hero slider is built with Swiper. You can customize slides (text, buttons, background images) in the home page HTML
and control behavior in slider-config.js.
Home page v1 slider:
src/index.html
(uses class slider-hero-creative).
Home page v2 slider:
src/home-two.html
(uses class slider-hero-cube).
Slider behavior/presets:
src/assets/js/slider-config.js
(change effect presets or use data-autoplay on a slider container).
Hero images:
src/assets/images/hero.
Contact Form Submission (EmailJS)
The template supports client-side contact form submission using EmailJS (no backend required).
The submission logic is in src/assets/js/contact-form.js.
Where is the contact form?
The default contact page is src/contact.html. The form uses id="contactForm" and the input
name attributes: name, email, phone, subject, message.
Make sure EmailJS is loaded
EmailJS is already included in src/partials/script-file.html in the original template. If you remove it, add it back:
“Who We Are” type content is usually part of the home/about sections. Edit the section in the page HTML or in shared
partials under src/partials/common.
Start with the page: src/index.html or src/home-two.html.
This HTML version does not include a dedicated “timeline data file”. If you need a timeline on the About page,
edit the markup directly in src/about.html, or create your own partial in src/partials/common and include it.
About page: src/about.html.
Optional custom section: src/partials/common.
Customize Color Family
To change Color Family you can change by following this
screenshot here.
From the project folder go to
tailwind.config.jsOpen the menu you want to use
Then customize the Color Family
Customize the color
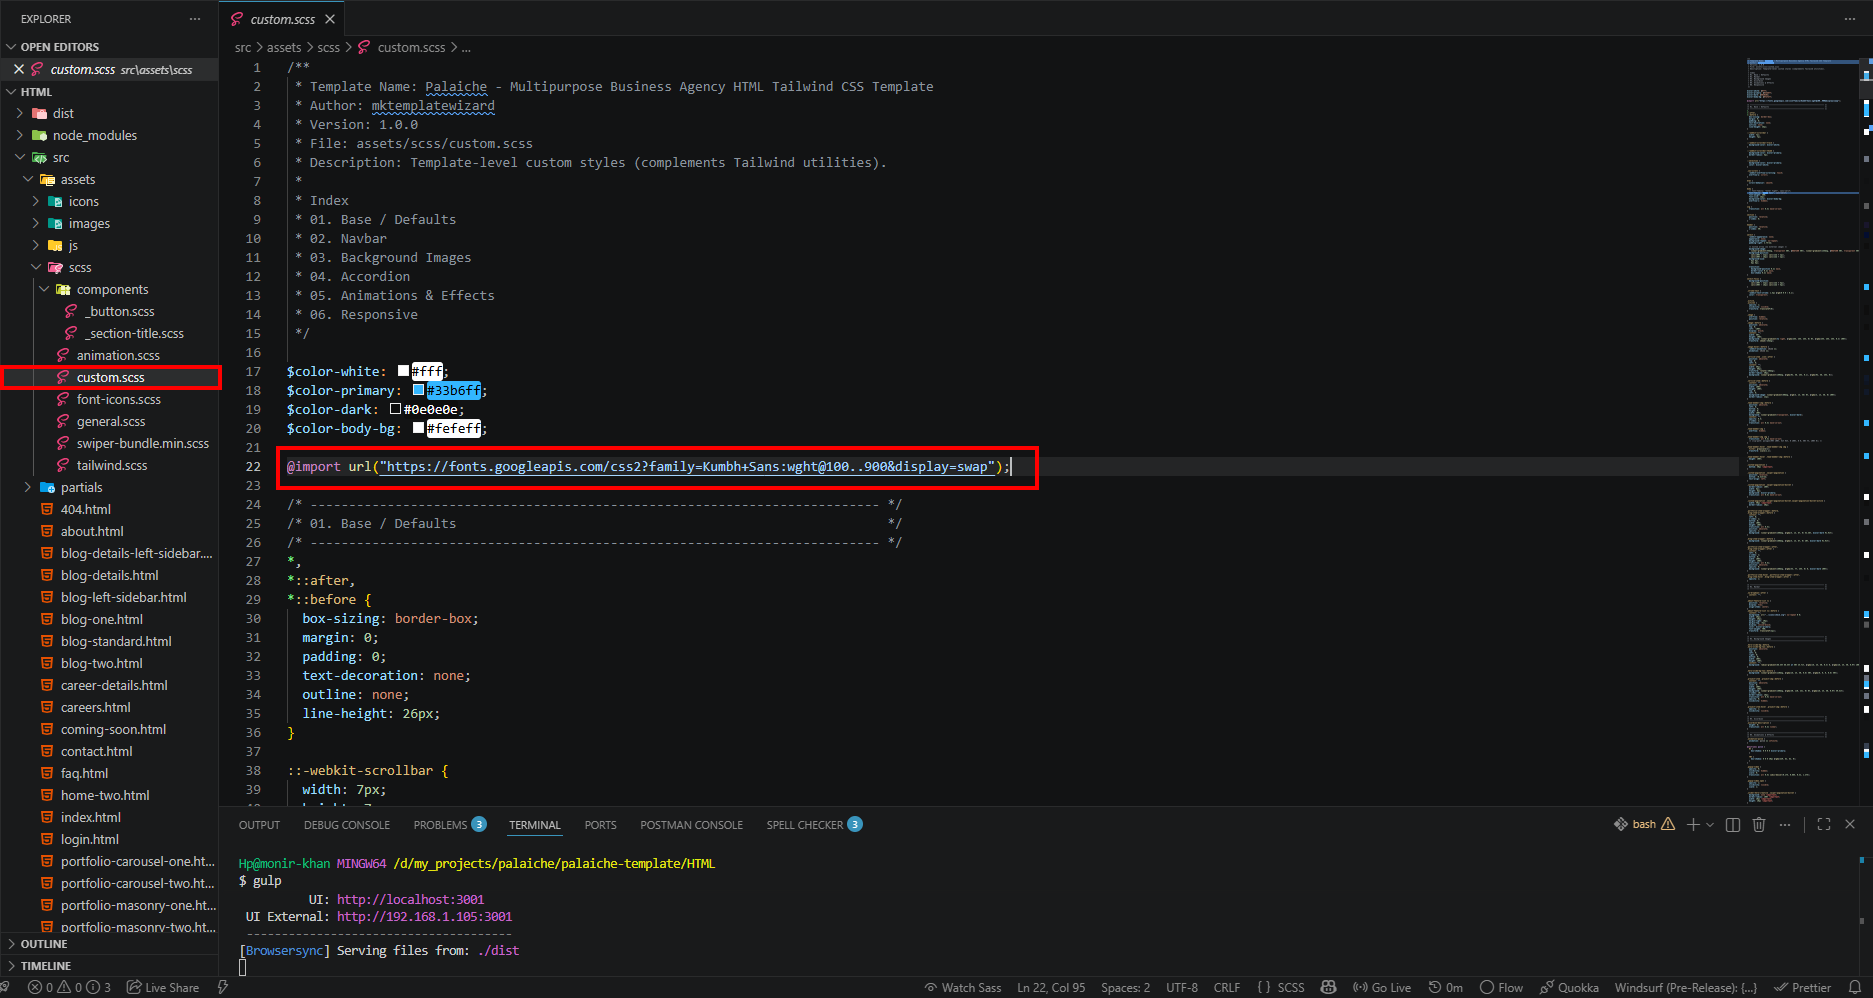
Customize Google Font
To change Google Font you can change by following this
screenshot here.
From the project folder go to
srcassetsscsscustom.scsschange the Google Font here
Then customize the Google Font data
Customize the Typography
Source and Credits
Frameworks & Build Tools
Tailwind CSS v3.4+ - Utility-first
CSS framework
Gulp v5.0+ - Task runner for
automation
Sass (SCSS) - CSS preprocessor
PostCSS & Autoprefixer - For CSS
processing and vendor prefixes
BrowserSync - For live reloading
during development
Gulp File Include - HTML partials
via @@include()
Plugins & Libraries
Swiper.js - Modern mobile touch
slider
Tailwind CSS Animated - Animation
plugin for Tailwind
Font Awesome 6.4.2 - Icon library
Assets & Fonts
Google Fonts - Primary font family
Kumbh Sans
Freepik - Illustrations and UI
graphics
Version Log
v1.0.0May 10, 2026
Initial Release
Initial Release of Palaiche
Multipurpose Business Agency Template.
Built with
HTML5, Tailwind CSS v3.4+ and
Gulp v5.
Included
2 Unique Home Pages with Mega
Menu support.